
As the fields of cryptocurrency and blockchain technology continue to evolve, having a secure and user-friendly wallet is essential. One of the most popular and trusted wallets in the crypto space is MetaMask. Whether you’re a crypto newbie or a seasoned investor, understanding how to use MetaMask can open doors to decentralized finance (DeFi), NFTs, and much more.
In this comprehensive guide, we’ll walk you through everything you need to know about MetaMask—from installation to advanced features—so you can navigate the decentralized web with confidence.
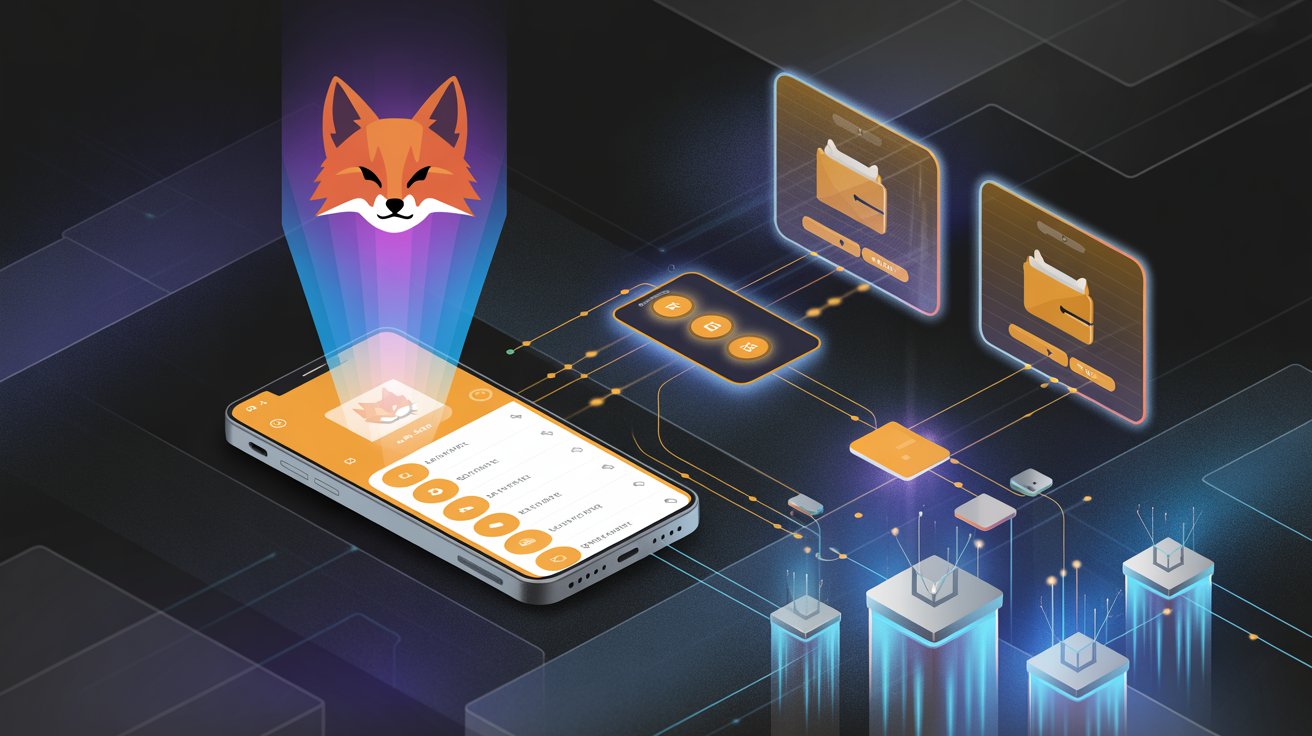
What is MetaMask?
MetaMask is a free, open-source crypto wallet that allows users to interact with the Ethereum blockchain and other compatible networks. It comes as a browser extension (for Chrome, Firefox, Brave, and Edge) and a mobile app (iOS and Android).
With MetaMask, you can:
- Store and manage Ethereum and ERC-20 tokens
- Connect to decentralized applications (dApps)
- Buy, send, and receive crypto
- Swap tokens directly within the wallet
Why Use MetaMask?
Here are a few reasons why MetaMask is a go-to wallet for millions of users:
- User-Friendly Interface: Easy to set up and navigate, even for beginners.
- Secure: Private keys are stored locally on your device.
- Multi-Network Support: Easily switch between Ethereum, Binance Smart Chain, Polygon, and more.
- dApp Integration: Seamlessly connect to DeFi platforms, NFT marketplaces, and blockchain games.
Step-by-Step Guide: How to Use MetaMask
Let’s break down the process into simple, actionable steps.
Step 1: Install MetaMask
For Desktop:
- Go to the official website: https://metamask.io
- Click Download and choose your browser.
- Add the MetaMask extension to your browser.
- Click the MetaMask icon in your toolbar to launch it.
For Mobile:
- Download the MetaMask app from the App Store or Google Play.
- Open the app and follow the on-screen instructions.
Important: Always download MetaMask from the official website or trusted app stores to avoid phishing scams.
Step 2: Create a Wallet
- Click Get Started.
- Choose Create a Wallet.
- Set a strong password (minimum 8 characters).
- Agree to the terms and click Create.
Step 3: Secure Your Wallet
MetaMask will now show you a Secret Recovery Phrase (also called a seed phrase). This is a 12-word phrase that can restore your wallet if you lose access.
- Write it down on paper and store it in a safe place.
- Never share your seed phrase with anyone.
- Do not store it digitally (e.g., screenshots or cloud storage).
If someone gets your seed phrase, they can access your funds. Treat it like your bank PIN—only more important.
Step 4: Access Your Wallet
Once your wallet is created, you’ll see your Ethereum address (a long string starting with “0x”). This is your public address—share it with others to receive ETH or tokens.
You’ll also see:
- Account balance
- Transaction history
- Options to buy, send, and swap tokens
How to Use MetaMask for Transactions
1. Receiving Crypto
- Click Account 1 to copy your wallet address.
- Share this address with the sender.
- You’ll receive ETH or tokens directly into your wallet.
2. Sending Crypto
- Click Send.
- Paste the recipient’s wallet address.
- Enter the amount and choose the gas fee.
- Click Next, then Confirm.
Gas Fees: These are transaction fees paid to miners. You can choose between low, medium, or high fees depending on how fast you want the transaction to process.
3. Swapping Tokens
- Click Swap.
- Choose the token you want to swap and the one you want to receive.
- Enter the amount and review the quote.
- Click Swap to complete the transaction.
Connecting MetaMask to dApps
One of MetaMask’s most powerful features is its ability to connect with decentralized applications.
How to Connect:
- Visit a dApp (e.g., Uniswap, OpenSea, Aave).
- Click Connect Wallet.
- Choose MetaMask.
- Approve the connection in the MetaMask popup.
Once connected, you can:
- Trade tokens on decentralized exchanges
- Buy and sell NFTs
- Lend or borrow crypto
- Play blockchain-based games
Adding Custom Networks (e.g., BNB Chain, Polygon)
MetaMask supports Ethereum by default, but you can manually add other networks.
To Add a Network:
- Click your profile icon > Settings > Networks > Add Network.
- Enter the network details (available on the official site of the blockchain).
- Click Save.
Popular networks to add:
- Binance Smart Chain (BSC)
- Polygon (MATIC)
- Avalanche
- Arbitrum
Importing an Existing Wallet
If you already have a MetaMask wallet or another Ethereum-compatible wallet, you can import it using the seed phrase.
- On the MetaMask welcome screen, click Import Wallet.
- Enter your 12-word seed phrase.
- Set a new password.
- Access your wallet.
Backing Up and Restoring MetaMask
To Back Up:
- Go to Settings > Security & Privacy.
- Click Reveal Secret Recovery Phrase.
- Write it down and store it securely.
To Restore:
- Install MetaMask on a new device.
- Click Import Wallet.
- Enter your seed phrase and password.
Tips for Using MetaMask Safely
- Never share your seed phrase—not even with MetaMask support.
- Use hardware wallets (like Ledger or Trezor) for large amounts.
- Beware of phishing sites—always double-check URLs.
- Enable biometric login on mobile for added security.
- Keep your browser and MetaMask updated.
Common MetaMask Issues & Fixes
1. Transaction Stuck or Pending
- Try increasing the gas fee and resubmitting.
- Use the “Speed Up” or “Cancel” option in MetaMask.
2. Tokens Not Showing
- Click Import Tokens.
- Enter the token contract address (from CoinGecko or Etherscan).
- Add the token manually.
3. Wrong Network
- Switch to the correct network using the dropdown at the top of MetaMask.
Final Thoughts
MetaMask is more than just a wallet—it’s your gateway to the decentralized web. Whether you’re trading tokens, exploring DeFi, or collecting NFTs, MetaMask makes it easy and secure to interact with blockchain technology.
By following this guide, you now know how to:
- Set up and secure your MetaMask wallet
- Send, receive, and swap crypto
- Connect to dApps and explore new networks
As always, stay informed, double-check addresses, and never share your seed phrase. With great power comes great responsibility—especially in the world of crypto.
Join Us : Twitter | Website | GitHub | Telegram | Facebook | YouTube


